Unlocking the World of Alcohol Markers: What Are They?
One Marker to Rule Them All
In the vast realm of art supplies, one tool has gained immense popularity among artists of all skill levels – alcohol markers. These versatile and vibrant coloring tools have revolutionized the way artists bring their visions to life. In this guide, we’ll delve into the world of alcohol markers, unraveling their mysteries, and discovering why they’ve become a beloved choice for creative minds.
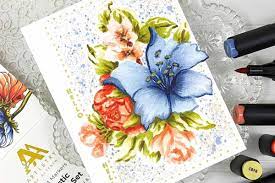
Alcohol markers have become a staple in the toolkit of artists, illustrators, and enthusiasts worldwide. They’re celebrated for their remarkable color vibrancy, seamless blending capabilities, and quick-drying nature. Whether you’re an experienced artist or just starting on your creative journey, alcohol markers offer an unparalleled artistic experience.
In this comprehensive exploration, we’ll cover everything you need to know about alcohol markers, from their basic composition to the advantages they bring to your artwork. By the end of this guide, you’ll have a clear understanding of what alcohol markers are and why they are a valuable addition to your creative arsenal.
Pound for pound the best budget alcohol markers
Chapter 1: The Essence of Alcohol Markers
What Are Alcohol Markers?
Alcohol markers are a unique type of coloring tool known for their exceptional color vibrancy and blending capabilities. Unlike traditional water-based markers, alcohol markers use alcohol-based ink, which is renowned for its seamless blending, smooth coverage, and quick drying time.At their core, alcohol markers are a distinct breed of coloring tools celebrated for their vivid colors and seamless blending abilities. They stand apart from traditional water-based markers due to their unique composition: alcohol-based ink.
How Do Alcohol Markers Work?
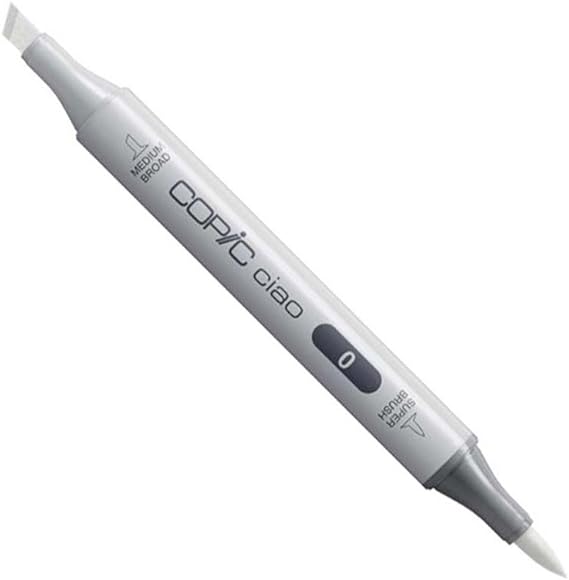
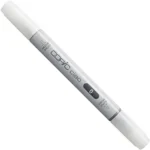
Understanding the inner workings of alcohol markers is key to mastering their potential. These markers consist of three main components: the alcohol-based ink, a dual-tip design (featuring both a fine point and a broad chisel tip), and a color-coded barrel for easy identification.
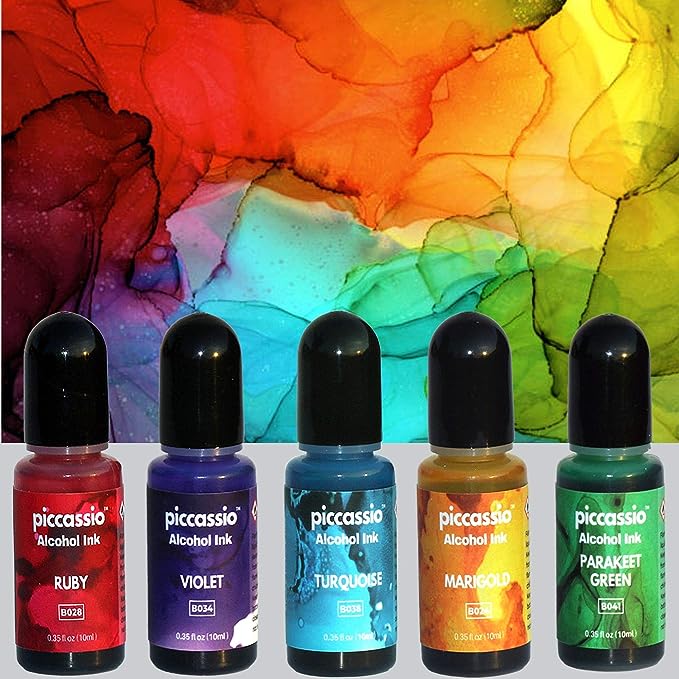
Alcohol-Based Ink: A Coloring Marvel
The secret to the brilliance of alcohol markers lies in their ink. Comprising pigments or dyes dissolved in alcohol, this ink delivers exceptionally vibrant and saturated colors. Unlike water-based markers, which rely on water as a base, alcohol-based ink dries quickly, leaving behind smooth, streak-free colors that pop off the page.
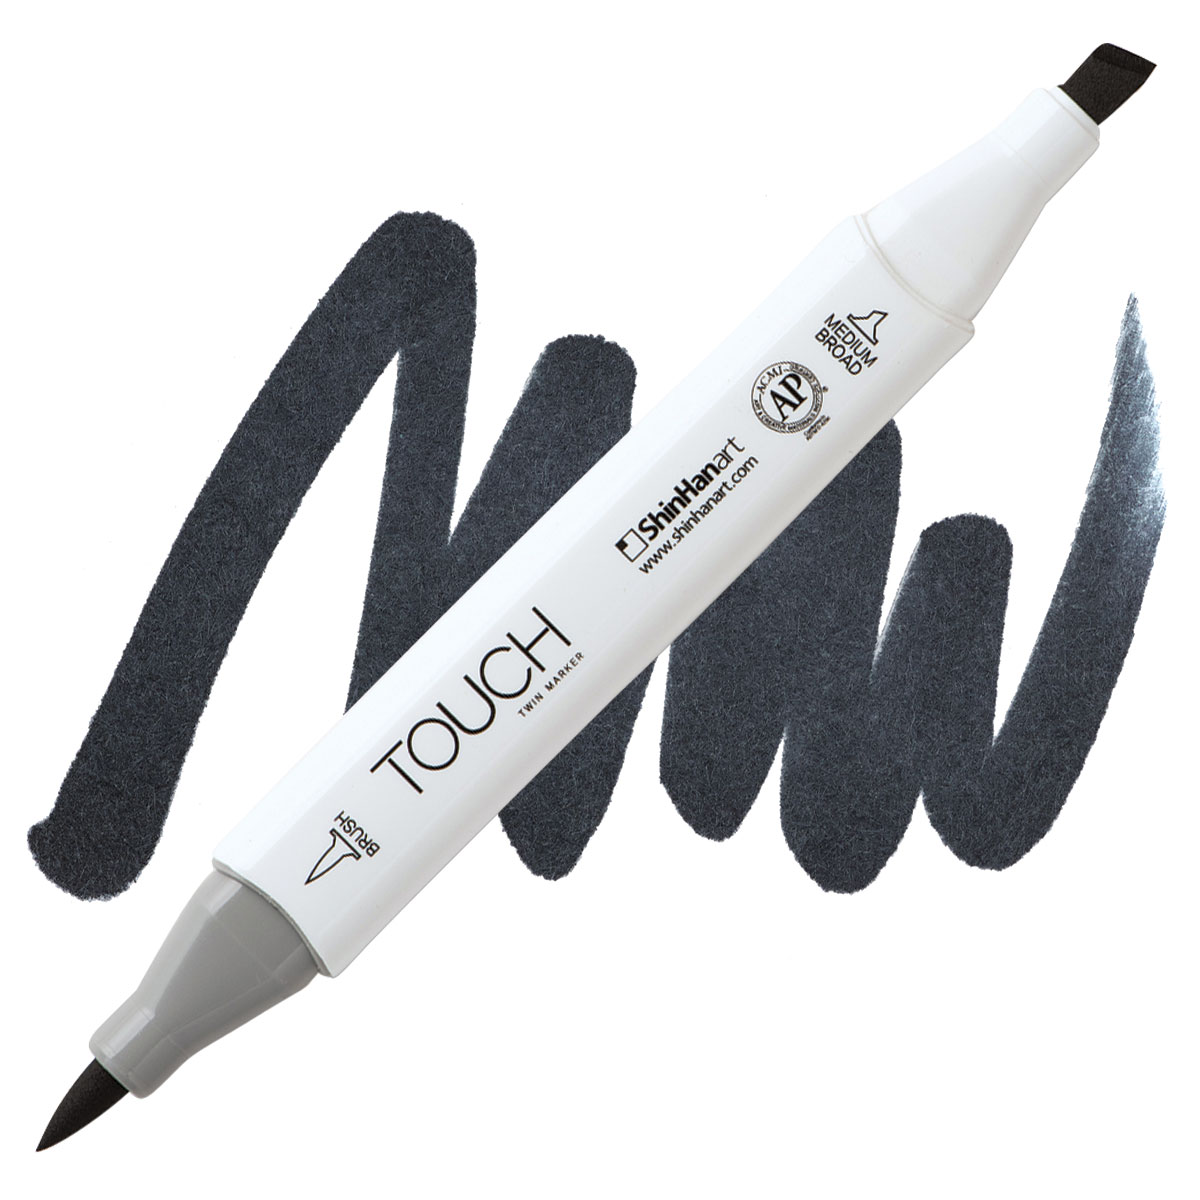
Dual-Tip Design for Precision
Most alcohol markers sport a dual-tip design, offering artists versatility in their work. One end typically features a fine point, perfect for intricate details and fine lines. On the opposite end, a broad chisel tip allows for broader strokes and covering larger areas with ease.
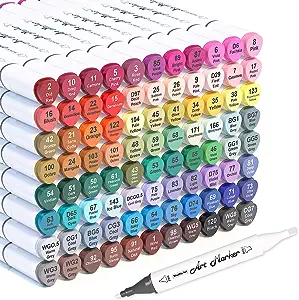
Color-Coded Convenience
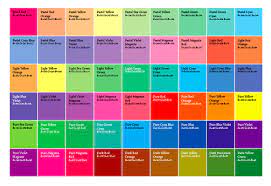
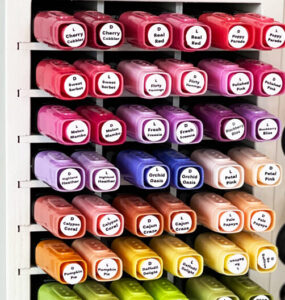
Navigating a collection of alcohol markers is made effortless through their color-coded barrels. This system enables artists to quickly identify the exact shade they need, saving valuable time during the creative process.
How Do Alcohol Markers operate?
To fully harness the potential of alcohol markers, it’s essential to grasp how they operate.
Capillary Action: Magic at Work
When you lay an alcohol marker on paper, capillary action comes into play. The porous paper surface draws the alcohol ink from the marker, resulting in smooth, even coverage. This property allows artists to create gradients and transitions seamlessly, making alcohol markers an ideal choice for blending colors.
Quick-Drying Wonder
One of the standout features of alcohol markers is their quick-drying nature. Unlike other mediums that might require lengthy drying times between layers, alcohol markers dry almost instantly. This quality eliminates the risk of smudging or muddying your artwork, allowing you to work rapidly and confidently.
Chapter 2: The Magic of Alcohol Ink
Why Alcohol Ink Stands Out
When it comes to alcohol markers, the real star of the show is the alcohol-based ink they use. This remarkable ink is what sets them apart and makes them a top choice for artists of all levels.
Seamless Blending
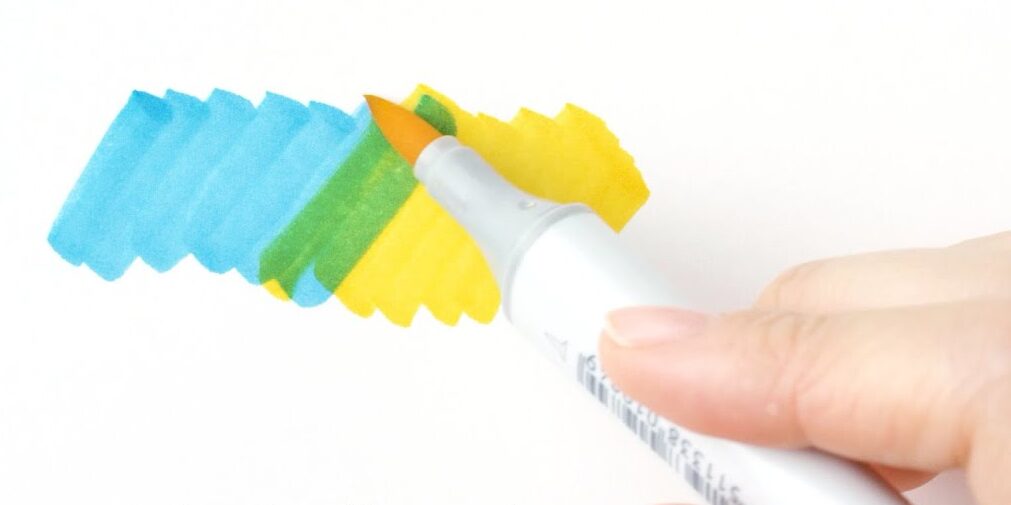
One of the defining characteristics of alcohol markers is their ability to blend seamlessly. Thanks to their quick-drying nature and alcohol base, you can achieve smooth gradients and transitions between colors. Whether you’re an experienced artist or just starting, blending with alcohol markers is a satisfying and user-friendly process.
The Vibrant World of Colors
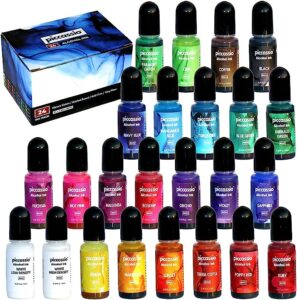
Alcohol ink delivers unparalleled vibrancy. The pigments or dyes in alcohol markers are dissolved in alcohol, creating intensely saturated colors. This means that your artwork will truly come to life, with colors that pop and grab the viewer’s attention.

Layering Brilliance
Alcohol markers allow for layering without the fear of muddying your artwork. Since the ink dries quickly and doesn’t reactivate when new layers are applied, you can build up colors, add depth, and fine-tune your creations with ease.
Special Techniques with Alcohol Markers
Now that you understand the fundamentals of alcohol ink let’s explore some advanced techniques that will elevate your marker art.
#1
Stippling:
Stippling involves creating patterns or textures by applying tiny dots of color. With alcohol markers, you can achieve precise stippling effects that add depth and dimension to your artwork.

#2
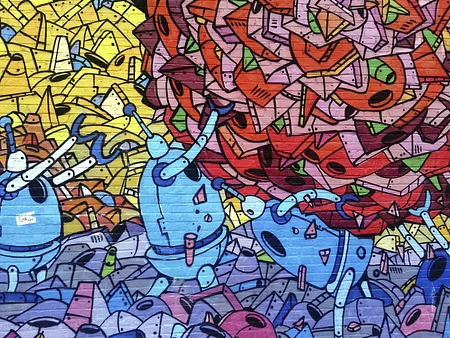
Graffiti Style:
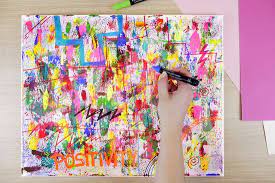
For a bold and dynamic look, experiment with graffiti-style art. Use broad strokes and sharp lines to create edgy and eye-catching designs.
#3
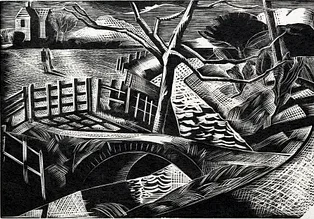
Monochrome Mastery:
Challenge yourself by working with a single color or shades of a single color. This technique can create stunning and evocative pieces that play with light and shadow.
#4
Mixed Media Magic:
Combine alcohol markers with other mediums like colored pencils or watercolors to unlock new dimensions in your artwork.
Chapter 3: Choosing the Right Alcohol Markers
Navigating the World of Marker Brands
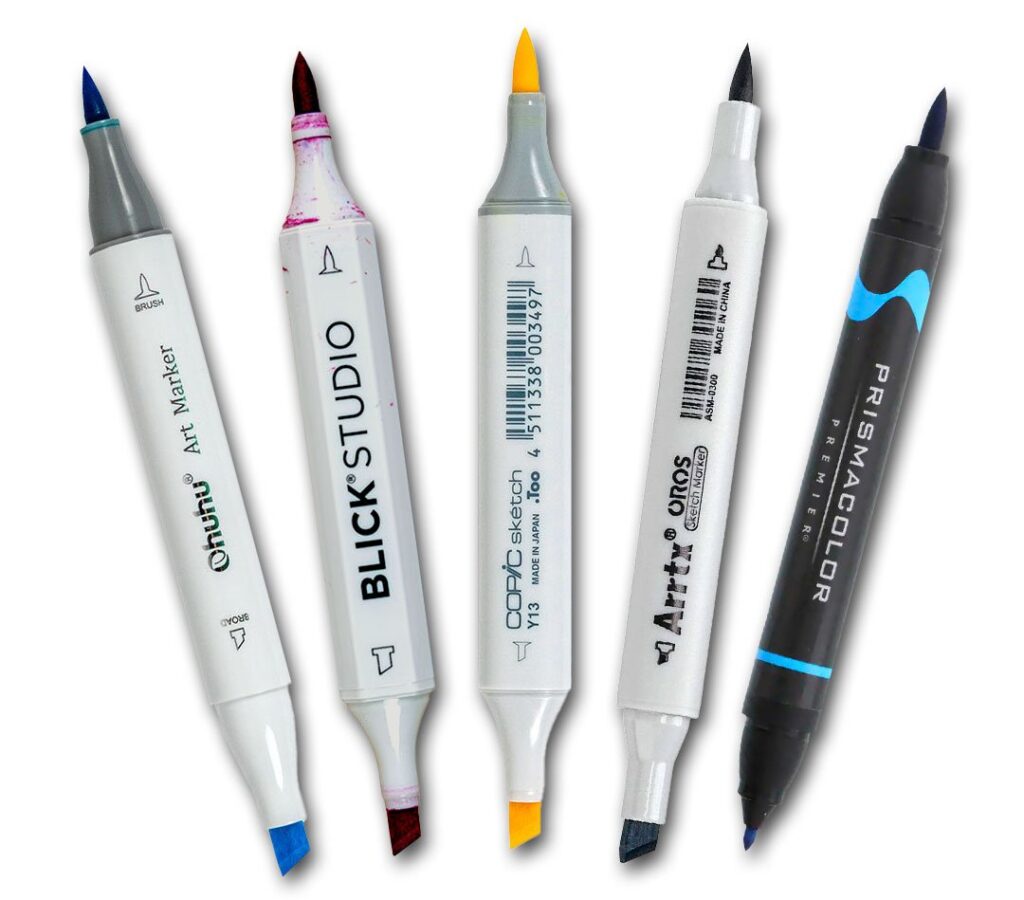
When it comes to alcohol markers, you’ll find a plethora of brands and product lines to choose from. Each brand has its own unique features and qualities. Here, we’ll explore some popular brands and what sets them apart.

Copic Markers:
Copic markers are renowned for their high-quality, alcohol-based ink. They offer a vast color selection and are known for their refillable and replaceable nibs. Artists love Copics for their consistent, vibrant colors and excellent blending capabilities.

Prismacolor Premier:
Prismacolor markers are well-regarded for their smooth, creamy ink and high pigmentation. They offer a wide range of colors and are known for their durability and reliability.

Winsor & Newton Promarkers:
These markers are favored for their affordability and consistent ink flow. They come in a wide variety of colors and are great for both beginners and experienced artists.
Ohuhu Markers:
Ohuhu markers are an excellent choice for those on a budget. They offer a surprisingly high-quality ink for their price, making them a favorite among budding artists.

Blick Studio Brush Markers:
These markers are valued for their dual tips - a brush tip and a fine tip. The brush tip allows for versatile strokes, while the fine tip is perfect for detailing. They are available in a broad color range and are budget-friendly.
Selecting the Perfect Set
Choosing the right set of alcohol markers depends on your artistic goals, budget, and preferences. Here are some tips to help you make an informed decision:
– Consider Your Skill Level: If you’re just starting, it’s wise to begin with a smaller set of basic colors. More experienced artists may want to invest in larger sets with a wider range of hues.
– Budget: Determine how much you’re willing to spend. Remember that quality markers can be an investment, but they often yield superior results.
– Color Range: Think about the type of art you want to create. Some sets offer specific color families or themes, while others provide a comprehensive array of colors.
– Refillable or Disposable: Some markers, like Copics, are refillable and allow you to replace nibs, reducing long-term costs. Disposable markers may be more suitable for beginners.
– Test Them Out: If possible, test markers in-store or purchase a small set to ensure they meet your expectations before committing to a larger collection.
Caring for Your Alcohol Markers
To prolong the life of your alcohol markers and maintain their quality, follow these care tips:
– Cap Them Securely: Always cap your markers securely when not in use to prevent them from drying out.
– Store Upright: Store your markers upright to ensure even ink distribution to both tips.
– Replace Nibs: If your marker’s nibs become worn or frayed, replace them promptly to maintain precise lines and blending capabilities.
– Keep Them Clean: Clean your marker tips on a scrap piece of paper if you switch between colors to prevent contamination.
Chapter 4: Mastering Marker Techniques
Unlocking Your Creative Potential
Now that you’ve selected your alcohol markers, it’s time to explore the exciting world of marker techniques. These techniques will empower you to create stunning artwork and bring your ideas to life.
Blending Like a Pro
One of the most captivating aspects of alcohol markers is their ability to blend seamlessly, creating smooth transitions between colors. Here's how to master blending:
– Use Compatible Colors: Choose colors that are close on the color wheel for smoother blends. For example, blending blue and green works better than blue and red.
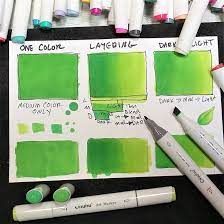
– The Layering Technique: Start with a light layer of your first color. Then, add layers of your second color, overlapping slightly with the first. Continue layering until you achieve the desired blend.
– Colorless Blender: Most marker sets include a colorless blender marker. Use it to push colors together and create a faded, gradient effect.
Creating Texture and Depth
Markers can be used to add texture and depth to your artwork. Try these techniques:
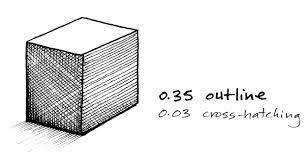
– Cross-Hatching: Draw closely spaced lines in different directions to create shadows and depth.
– Stippling: Use small, controlled dots to build up texture and shading.
– Feathering: Create soft edges and smooth transitions by lightly flicking your marker strokes.
Precision with Masking
Masking is a technique that allows you to preserve areas of your artwork while working on others. Here's how to use it effectively:
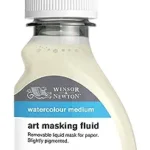
– Masking Fluid: Apply masking fluid to areas you want to protect. Once it dries, you can color over it without affecting the masked area. Remove the masking fluid when you’re done.
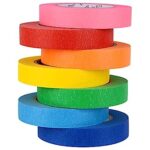
– Masking Tape: Use low-tack masking tape to cover areas you want to keep white or protect from marker ink.
Texture with Solvents
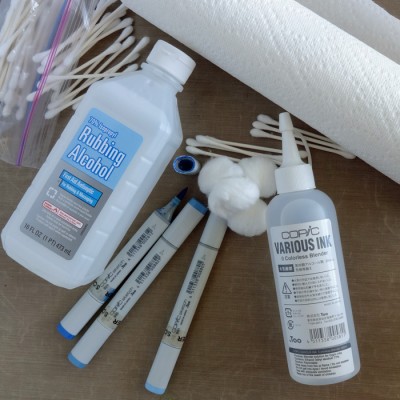
Solvents, like rubbing alcohol or a specialized blender pen, can create unique textures and effects with alcohol markers. Experiment with these techniques:
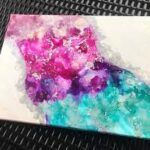
– Texture with Rubbing Alcohol: Dabbing a bit of rubbing alcohol on your artwork can create interesting textures and patterns. Just be sure not to over-saturate the paper.
– Blender Pen: Some marker sets include a blender pen that can be used to lighten colors, erase small mistakes, or create texture.
Practice and Patience
Remember, mastering marker techniques takes practice. Don’t be discouraged by initial attempts; instead, embrace them as learning experiences. Experiment with different techniques, color combinations, and paper types to discover what works best for your style.
Chapter 5: Tips for Your Coloring Journey
Enhancing Your Coloring Experience
Now that you’ve learned the fundamentals of alcohol markers and some advanced techniques, it’s time to delve into some valuable tips that will elevate your coloring journey.
Selecting the Right Paper
The paper you choose can significantly impact your coloring experience. Here’s how to make the best selection:
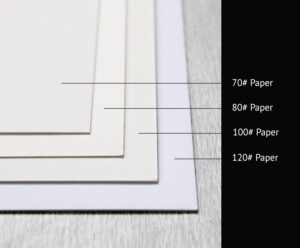
– Weight Matters: Opt for heavyweight paper (around 100 pounds or more) to prevent marker bleed-through and ensure your artwork looks its best.
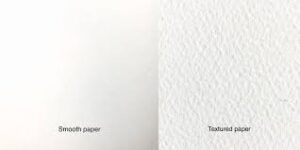
– Smooth vs. Textured: Decide if you prefer smooth or textured paper. Smooth paper allows markers to glide easily, while textured paper can add depth and character to your artwork.
Organize Your Color Palette
An organized color palette can save you time and make coloring more enjoyable:
Layer Wisely
Layering is a key technique, but it’s essential to layer wisely:
Stay Patient and Relaxed
Coloring can be a relaxing and meditative experience, but it’s easy to get caught up in perfectionism. Remember:
Protect Your Work
Once your masterpiece is complete, take steps to preserve it:
Embark on Your Coloring Adventure
Armed with these tips, you’re ready to embark on a colorful adventure with your alcohol markers. Whether you’re a seasoned artist or a beginner, remember that coloring is not just about the finished product but the joy and relaxation it brings along the way.
Chapter 6: Showcasing Your Creations
Sharing Your Artistic Triumphs
You’ve poured your creativity into each stroke, and your coloring book is filled with vibrant and imaginative artwork. Now, it’s time to showcase your creations to the world.
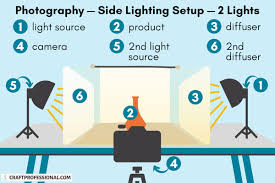
Photograph Your Artwork
Capturing high-quality images of your colored pages is essential, especially if you plan to share them online or print them for display. Here are some tips:
– Good Lighting: Natural light or soft, diffuse artificial light works best. Avoid harsh shadows.
– Steady Hands: Use a tripod or find a stable surface to avoid shaky photos.
– Angle Matters: Experiment with different angles to find the one that best captures your artwork’s essence.
Share on Social Media
Social media platforms offer a great way to share your artwork with a vast audience. Consider these strategies:
– Create an Art Account: If you don’t already have one, consider creating a separate social media account dedicated to your art.
– Use Hashtags: Utilize relevant hashtags to increase the visibility of your posts.
– Engage with Others: Interact with the art community by commenting on and liking others’ work. Building connections can be inspiring and supportive.

Start an Art Blog or Website
If you're passionate about your art, consider starting an art blog or website. This platform allows you to share your journey, showcase your artwork, and connect with like-minded individuals.
– Choose a User-Friendly Platform: Opt for a website builder or blogging platform that suits your needs and technical abilities.
– Share Your Process: Share behind-the-scenes insights, tutorials, and stories about your coloring experiences.

Participate in Art Challenges
Art challenges and coloring contests can provide motivation and opportunities to grow as an artist. Look for challenges related to coloring or specific themes that resonate with you.
– Follow Guidelines: When participating in contests, be sure to follow the rules and guidelines carefully.
– Don’t Fear Feedback: Constructive criticism can help you improve your skills. Embrace feedback as a valuable learning tool.

Consider Selling Your Art
If you're confident in your coloring skills, you might explore selling your artwork. Here are some options:
– Online Marketplaces: Platforms like Etsy and eBay allow you to sell your original artwork or prints.
– Local Art Fairs: Look for art fairs and markets in your area where you can showcase and sell your work.
– Commissions: Consider accepting commissions from individuals who admire your style.

Embrace Your Artistic Journey
Remember that your artistic journey is a continuous exploration of color, creativity, and self-expression. Don’t be afraid to take risks, try new techniques, and share your passion with others. Whether you’re coloring for relaxation, personal growth, or artistic development, your creations are a testament to your unique vision.
With that, we conclude our guide to alcohol markers and the art of coloring. We hope this journey has inspired you to dive deeper into the world of coloring and discover the joy it can bring to your life.
“Thank you for joining us, and may your artistic endeavors continue to flourish and inspire. If you have any questions or would like to share your coloring experiences, please feel free to reach out.”
